Want to take a profile picture with your webcam on Facebook? This guide will show you how to do it.
 Want to take a profile picture with your webcam on Facebook? This guide will show you how to do it.
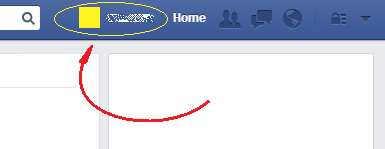
Once you have logged in to Facebook, on the top center of the page, click on your name or small profile picture.
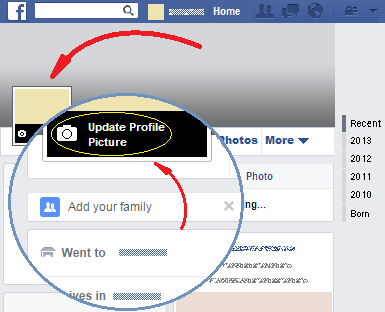
Once you have done that, hover your mouse over your profile picture and click on the appearing “Update Profile Picture” message.
By doing this, a window will appear. In its upper part, click on the “Take Photo” option. This will show you another window in which you will see the view of your webcam. Once you are satisfied with what you are seeing, click on the "Take" button below that view, and if the image is good, click on the “Save Profile Picture” button located at the bottom right hand corner of the window.
This way the image of your webcam will become your profile picture.
How to Use Facebook >> Facebook Account and Timeline >> How to Take a Profile Picture with Your Webcam on Facebook